
Guides / Nozzles and tools
Best 3D-printing tool kits: build a safer bench
A useful kit is a small set of correctly sized tools, measurement gear and protective equipment—not a crowded case of vague accessories.
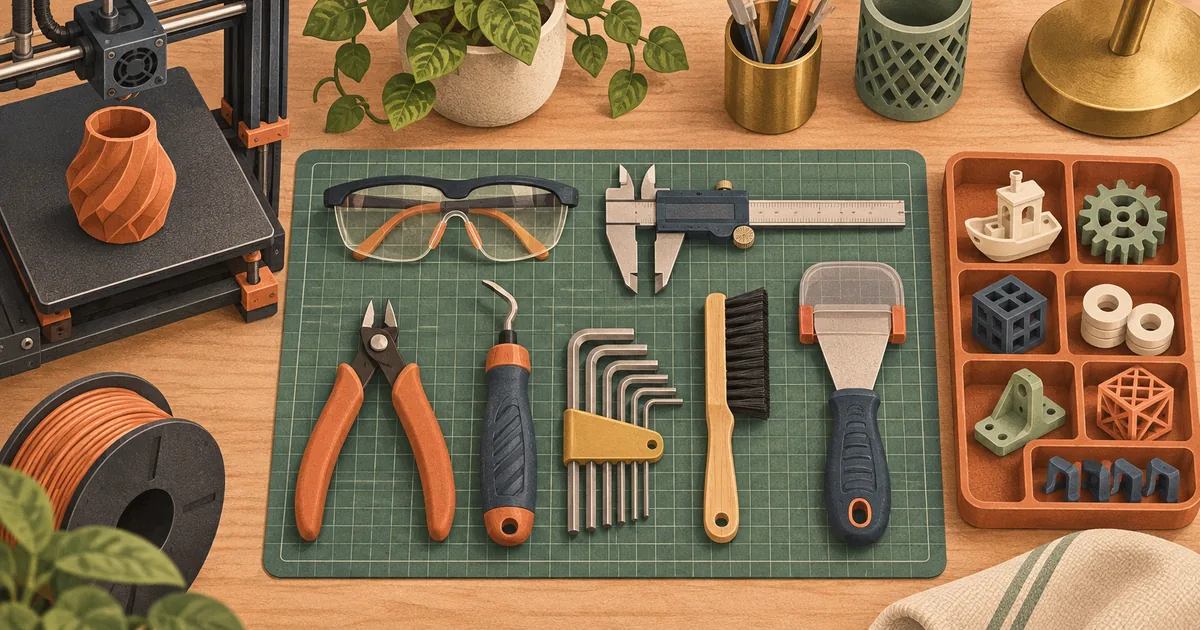
We haven't tested these products. This comparison is based on makers' published specifications and manuals, retailer listings and owner reviews (checked 15 November 2026).
Buy for jobs, not piece count
A sensible FDM toolkit has four small groups: printer-specific fasteners, filament handling, measurement and cleaning. A 73-piece case is not automatically better than a dozen tools that fit your machine. The printer manual should decide the Torx or hex sizes, spanner size and nozzle procedure; a generic listing cannot know which hotend you own.
The clearest buying test is simple: name the job for every tool. Flush cutters prepare a clean filament tip. Calipers check a model or coupon. Correctly sized keys service covers and motion parts. A socket or spanner may support a heater block during a maker-approved nozzle change. Tweezers lift loose strands only when the machine is in the safe state described by its manual. If an accessory has no defined job, it is clutter rather than capability.
What belongs on a first bench
| Tool group | Useful contents | Check before buying | Poor substitute |
|---|---|---|---|
| Fasteners | Good metric hex and Torx keys in the exact manual sizes | Tips fit fully without rocking | Soft, unmarked keys bundled only to raise the count |
| Filament | Flush cutters and smooth-jaw pliers | Jaws meet cleanly; handles keep fingers clear | Scissors that crush the filament into an oval |
| Measurement | 150 mm digital or vernier calipers and a steel rule | Repeatable zero and jaws suitable for inside and outside checks | Judging a tolerance coupon by eye |
| Cleaning | Lint-free cloths, maker-approved brush, tweezers | Compatible with the plate and hotend | A steel scraper on a coated sheet without permission |
| Protection | Eye protection and a heat-resistant resting surface | Suitable for the actual impact, dust or heat hazard | Ordinary spectacles treated as safety glasses |
Prusa's current maintenance guidance names a small brass brush for heater-block residue, tweezers for plastic threads and suitable lubricant for specified smooth rods. It also says not to open the extruder gearbox unless official support asks. That is a useful model for buying: obtain the item the procedure calls for, and respect the boundary of the procedure.
Relevant Amazon UK listings
Compare each bundle against the sizes in your own manual. These are verified listing titles, not an assessment of metallurgy, accuracy or long-term durability.
- KAMTOP 46-piece 3D-printer tool kit: See it on Amazon UK
- Mintion 73-piece 3D-printer accessories kit: See it on Amazon UK
- 24-piece 3D-printer tool and nozzle-cleaning kit: See it on Amazon UK
- Kynup 150 mm stainless-steel digital calipers: See it on Amazon UK
- KAIHAOWIN flush cutters, pack of ten: See it on Amazon UK
None has a stable price quoted here because Black Friday sale prices can change during the period ending around 1 December 2026. Check the live listing and compare the useful contents, not the headline discount.
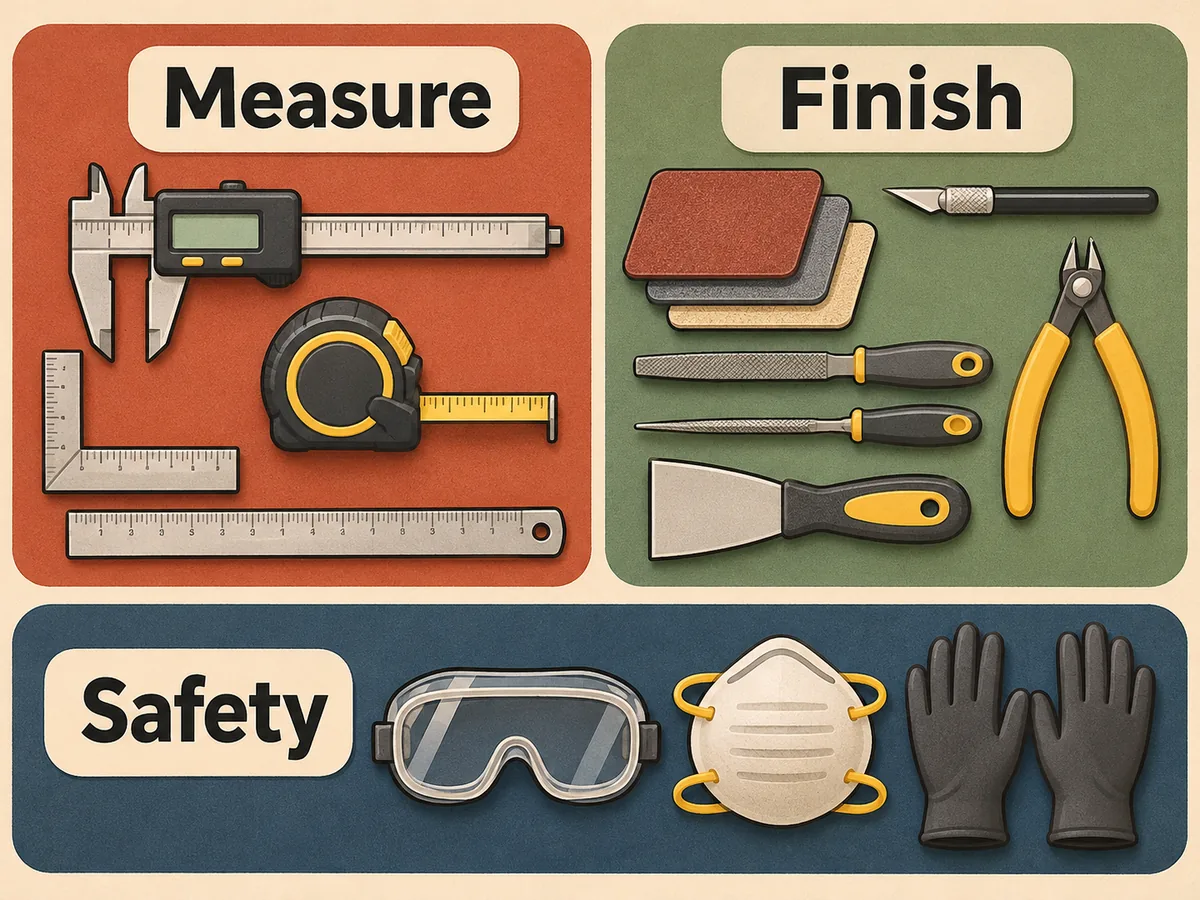
Build the kit in three passes
1. Read three procedures
Open the maker's routine-maintenance, nozzle-change and clog-clearing pages for your exact model. Write down every named size and any special fixture or torque requirement. Do not assume two printers from one brand share a hotend. A tool that fits the outer nozzle flats may still be wrong if the assembly is intended to be replaced cold as a complete unit.
The difference matters. In the Prusa MK3S nozzle procedure, the hotend is heated and the heater block must be held without damaging heater or thermistor wires. That procedure is model-specific; it is not permission to copy the same method onto a quick-swap or proprietary hotend.
2. Add diagnostic tools
Calipers earn their place by answering a defined question. Measure a clearance coupon, the actual filament diameter only when a slicer or maker workflow asks for it, or the height at which a repeating defect begins. First close the jaws gently and confirm zero. Then measure the same feature several times with similar pressure. A changing reading may be technique, burrs or jaw alignment rather than a changing part.
A small inspection light helps reveal residue around a nozzle and damage to a cable sleeve without dismantling anything. A magnifier is more useful for reading a nozzle marking or inspecting a cutter edge than another bag of cleaning needles. Keep a paper tray or magnetic parts dish for cold screws, but never place magnets where the printer maker warns against them.
3. Add consumables deliberately
Use only cleaning agents approved for the build surface. Keep plate cloths separate from greasy mechanical tools. Label lubricants with the axis or bearing system they serve; the wrong lubricant can attract debris or be incompatible with a component. Store spare nozzles in marked compartments with diameter, material and printer family, because an unlabelled brass part is easy to fit to the wrong heater block.
Worked example: a printer starts under-extruding
The wrong kit encourages immediate poking with a needle. A better kit supports the documented decision path:
- Unload the filament using the printer's controls and inspect the cut end, spool path and drive area with the light.
- Use the correct key only if the manual tells you to open an accessible cover; do not disturb wiring or a calibrated assembly speculatively.
- If the nozzle is only partly blocked and the model supports it, follow the maker's cold-pull method. Prusa's current cold-pull article says the method is for partial clogs, notes that its newer printers automate parts of the sequence, and excludes Nozzle X from that method.
- Put the hot extracted material on the heat-resistant surface and keep hands away from the melt zone.
- Escalate a complete blockage or damaged heater wiring to the exact maker procedure instead of improvising with drills, flames or oversized needles.
The important purchase here is not “a nozzle-cleaning set”. It is the combination of light, correct hand tools, a safe hot-part rest and access to the right instructions.
Common kit mistakes
Using flush cutters on hard wire. A cutter reserved for polymer filament stays aligned and sharp. Steel wire can notch fine edges; use a cutter rated for the wire instead.
Treating every brush as interchangeable. Brush material and working temperature matter. Follow the hotend maker, keep clear of live contacts and thermistor leads, and never brush a moving machine.
Buying one nozzle wrench for every printer. Flats, block support, hot-tightening requirements and permitted torque differ. A loose joint can leak molten polymer; an over-tightened one can damage threads.
Keeping greasy tools beside build-plate cloths. A small amount of lubricant transferred to a plate can create an adhesion problem. Separate “clean surface” items in a sealed bag.
Relying on PPE to make a poor method acceptable. HSE guidance says protection must match hazards such as impact, dust and heat. Eye protection is a final control, not a reason to cut towards yourself or work beside an energised heater.
A compact recommendation
For a first kit, favour quality keys in the documented sizes, one good filament cutter, calipers, fine pliers or tweezers, approved cleaning supplies, eye protection and a heat-safe rest. Add a nozzle tool only after checking the exact hotend procedure. A large bundle is worthwhile only when most of those core items are the right size and the case keeps clean measurement tools away from dirty maintenance work.