
Guides / Slicers and calibration
OrcaSlicer vs PrusaSlicer vs Cura
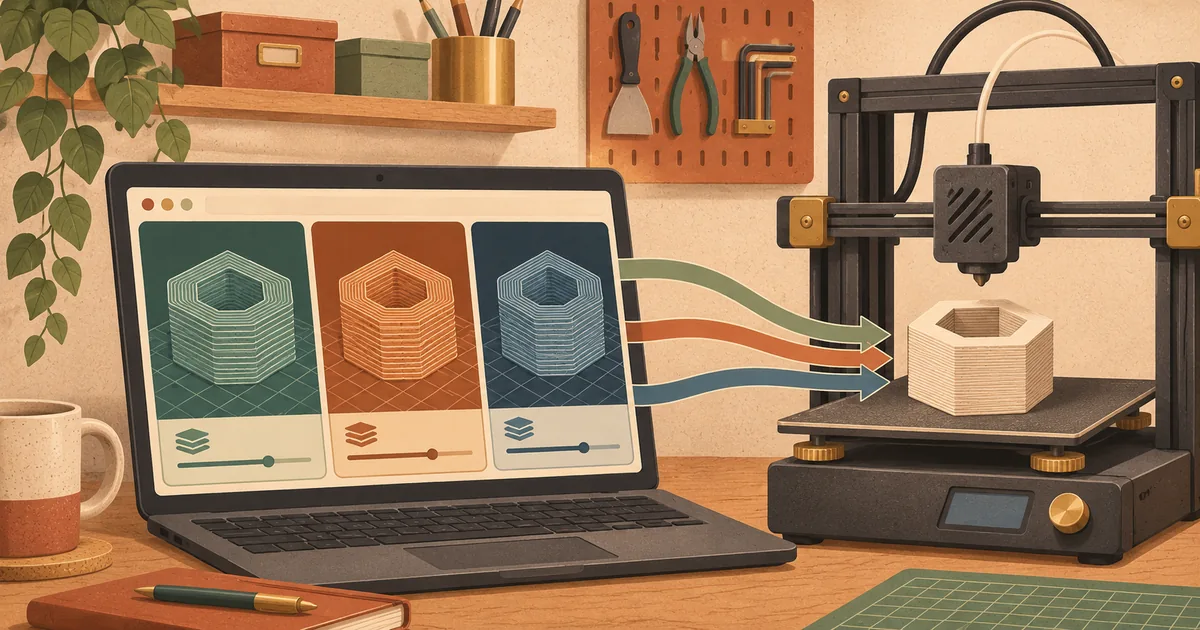
Compare printer profiles, calibration, support controls and preview workflow before moving a known project between OrcaSlicer, PrusaSlicer and Cura.
We haven't tested these products. This comparison is based on makers' published specifications and manuals, retailer listings and owner reviews (checked 15 November 2026).
Choose the profile ecosystem first
OrcaSlicer, PrusaSlicer and UltiMaker Cura can all turn an STL or 3MF into FDM toolpaths. The risky question is not which application has the longest settings list; it is which one has a maintained profile for your exact printer, nozzle and filament, and which preview makes those settings understandable.
Start with the slicer your printer maker supports. A correct bed shape, homing sequence, G-code flavour, nozzle diameter and motion limit matter more than an attractive infill option. If you move to another slicer, rebuild that foundation from official data rather than copying a stranger's complete profile.
At-a-glance comparison
| Decision | OrcaSlicer | PrusaSlicer | UltiMaker Cura |
|---|---|---|---|
| Strongest reason to choose it | Integrated calibration workflow and separated machine, filament and process presets | Close fit with Prusa printer profiles and Prusa's support material | Broad configurable workflow with Recommended and Custom modes |
| Calibration approach | Built-in temperature, flow, pressure advance, retraction, tolerance and volumetric-speed tests | Printer-oriented setup plus manual/profile-specific calibration workflows | Profile tuning through visible custom settings and plug-in ecosystem |
| Profile model | Printer, filament and process presets with compatibility and inheritance | Print, filament and printer presets | Quality profiles layered with material, machine and setting changes |
| Support workflow | Normal and tree-style controls, painting and process settings depending on version/profile | Snug, grid and organic support tools, including painting | Normal and tree structures with extensive interface and placement controls |
| Best fit | Users who want a guided calibration ladder for supported machines | Prusa owners or anyone who values its particular preview and modifier workflow | Users whose printer or organisation already maintains Cura profiles |
This is not a speed or print-quality ranking. Output depends on the selected profiles, machine condition, material and model. Two slicers with superficially identical “0.20 mm” profile names can differ in wall order, extrusion width, acceleration, cooling and machine code.
OrcaSlicer: calibration is the headline
The OrcaSlicer wiki documents a connected suite of temperature, flow-ratio, pressure-advance, retraction, tolerance and maximum-volumetric-speed tests. Its current calibration guide says the tests build on one another and assumes the extruder's firmware steps or rotation distance are already correct. That makes Orca especially useful when you want a visible path from a generic filament profile to a printer-and-spool-specific one.
Orca separates settings into machine, filament and process layers. Its profile documentation explains that the machine preset holds hardware and machine G-code, the filament preset holds temperature, cooling, flow and volumetric limits, and the process preset holds layer height, walls, supports and speeds. This separation is helpful, but it also makes the active combination important: changing a filament does not automatically validate a borrowed machine preset.
Choose Orca when your printer is supported accurately and you will use its calibration order. Avoid it as a shortcut for importing an unknown profile merely because the machine name appears in a community bundle.
PrusaSlicer: a direct path for Prusa profiles
PrusaSlicer presents separate printer, filament and print presets and a Prepare-to-Preview workflow. Prusa's current first-print guide shows those three selections together before slicing, then uses Preview to inspect the result. For a supported Original Prusa machine, that alignment between printer documentation, firmware and slicer profile is a substantial practical advantage.
The application is also useful beyond Prusa hardware when a trustworthy vendor profile exists or you are prepared to define the machine carefully. Its modifiers, support painting and detailed preview suit users who want local control without changing the source model. The caution is the same as elsewhere: a profile's presence does not prove it matches a modified hotend, non-standard nozzle or custom firmware limits.
Prusa's PrusaSlicer FAQ says profiles are backed up before an update and describes importing custom configuration. Still export a known-good project and configuration before a major migration; a backup is most useful when you know where it is and what it contains.
Cura: accessible entry, deep custom mode
Cura's Recommended mode keeps common choices visible, while Custom mode exposes the larger setting set. UltiMaker's profile overview explains that changed settings can be saved as a profile and profiles can be imported or exported. That makes Cura a good fit where a printer manufacturer publishes a maintained Cura profile or where a workshop already uses a controlled set of Cura configurations.
Its support controls are particularly explicit. Normal and tree supports, support interfaces, placement, overhang angle and per-extruder options are documented separately. This depth is valuable when tuning difficult geometry, but linked controls can make a single changed field behave differently across quality profiles.
UltiMaker's slicing workflow directs users to the preview after slicing and recommends the layer slider and simulation view to inspect how the model will print. That habit matters more than whether a setting is in Recommended or Custom mode.
Useful calibration supplies on Amazon UK
Moving between slicers is easier to assess with one consistent filament and a measuring tool for the same coupon. These listings fill those roles; neither makes unlike profiles equivalent.
- Kynup 150 mm stainless-steel digital calipers: See it on Amazon UK
- eSUN grey PLA+ filament, 1.75 mm, 1 kg: See it on Amazon UK
Prices are not quoted because Black Friday sale prices can change through about 1 December 2026. Check the current listing, and keep the spool identity constant during a comparison.
A fair migration test
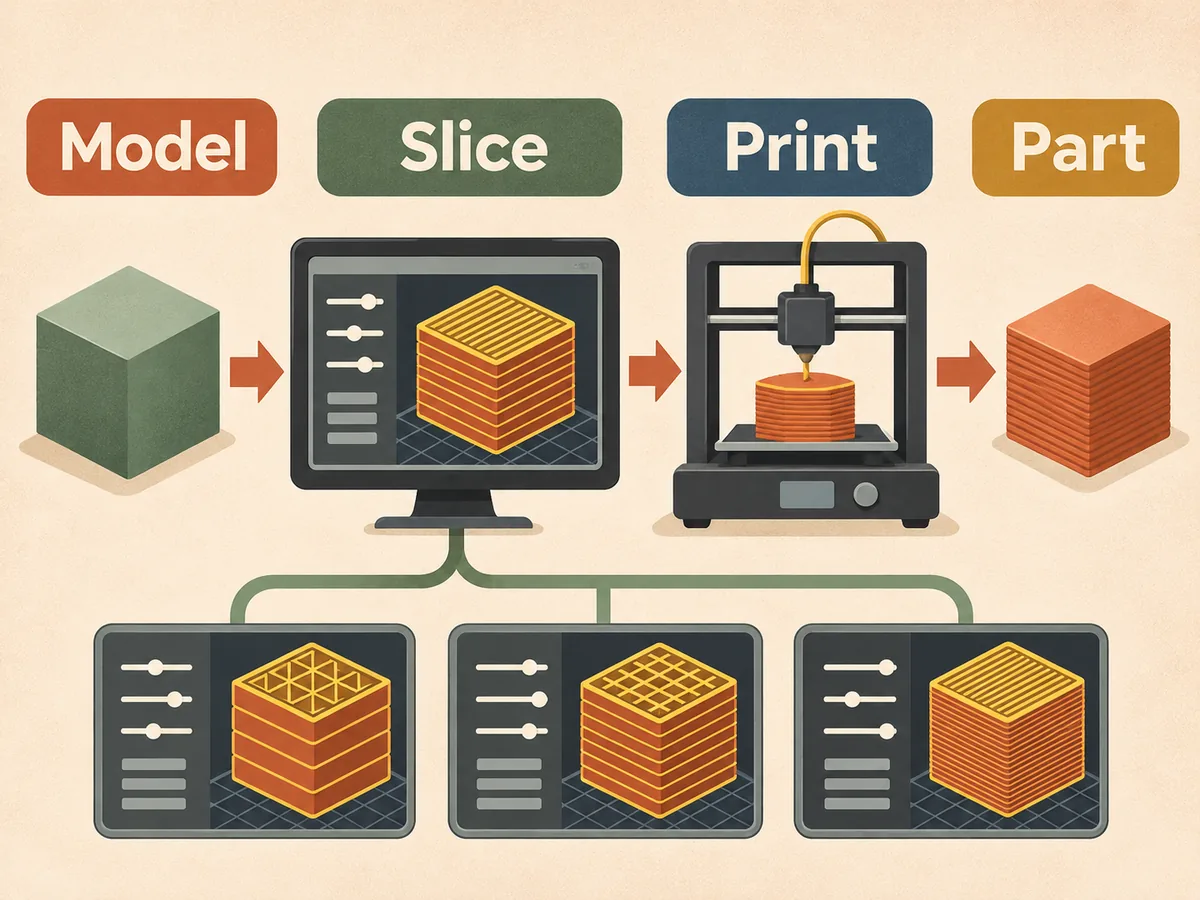
Use a small project that contains the features you actually print: two walls, a top surface, a bridge, one supported overhang, a hole and a seam-visible corner. Save the original project in the old slicer and export its configuration before beginning.
- Install the new slicer from its official project or maker page.
- Select the exact printer and nozzle variant. Confirm build volume, origin, G-code flavour and firmware-controlled motion limits against the manual.
- Select an official or maker-supported filament profile for the material. Do not copy only the nozzle temperature while leaving an unsuitable cooling or volumetric limit behind.
- Choose the closest ordinary process profile, such as the same nominal layer height. Leave specialist “fast” modes out of the first comparison.
- Match intentional geometry choices: wall count, top and bottom thickness, infill, support placement and brim. Do not chase identical time estimates yet.
- Inspect the preview by feature, line type, speed and volumetric flow where available. Confirm that small walls exist, supports begin where expected and the seam is acceptable.
- Read start and end G-code. Unknown homing, bed-mesh, purge or temperature commands are a stop sign, not a test opportunity.
- Print one coupon while supervising the first layer. Measure only after it cools, and compare function as well as appearance.
Worked example: Cura profile to OrcaSlicer
Imagine a Cura project for a 0.4 mm nozzle and PETG. Do not import the numerical settings as a flat list. In Orca, first create or select the correct machine preset. Put PETG temperature, cooling, flow ratio and maximum volumetric speed in the filament preset. Put 0.20 mm layer height, walls, infill and support strategy in the process preset.
Now compare previews. If Cura uses tree support and Orca uses normal support, material use and underside contact are not comparable; choose an equivalent intent or record the difference. If Orca's estimated time is lower, inspect speed and flow colouring rather than assuming a free improvement. Its filament limit may be different, or acceleration may be delegated to firmware.
Print the coupon, then run Orca calibration only where the output shows a need and in the documented order. A temperature tower cannot validate machine G-code, and a flow test cannot validate bed dimensions.
Common comparison mistakes
Comparing default profiles as if they were controlled experiments. Defaults encode different assumptions. Match the functional intent and document remaining differences.
Copying start G-code from a similar printer. Similar motion hardware does not guarantee the same homing, probes, heaters or purge routine. Use code for the exact machine.
Calibrating every filament value at once. Temperature affects flow appearance; flow affects pressure-advance results. Follow the slicer's stated order and keep separate filament presets.
Trusting the time estimate as a benchmark. Firmware limits can override slicer requests, and applications model acceleration differently. A short estimate is not evidence of a safe or achievable toolpath.
Overwriting system presets. Save a named derivative that identifies printer, nozzle and material. After an update, you can compare it with the new system baseline.
Skipping the preview because the same STL worked before. Support, thin-wall handling, seam placement and modifier interpretation can change. The geometry file is only one input.
Which should you install?
Choose OrcaSlicer for its documented calibration ladder when your machine profile is sound. Choose PrusaSlicer when its supported printer workflow and modifiers align with your work, especially for Prusa hardware. Choose Cura when your maker supplies Cura profiles or you value its Recommended-to-Custom path and detailed support controls.
Keeping two slicers is reasonable for exceptional models, but designate one known baseline for routine work. Name exported profiles, retain a proven project and review release notes before replacing a production setup. The practical winner is the slicer whose active machine, filament and process combination you can explain from profile to preview.