
Guides / Troubleshooting
How to fix stringing in FDM prints
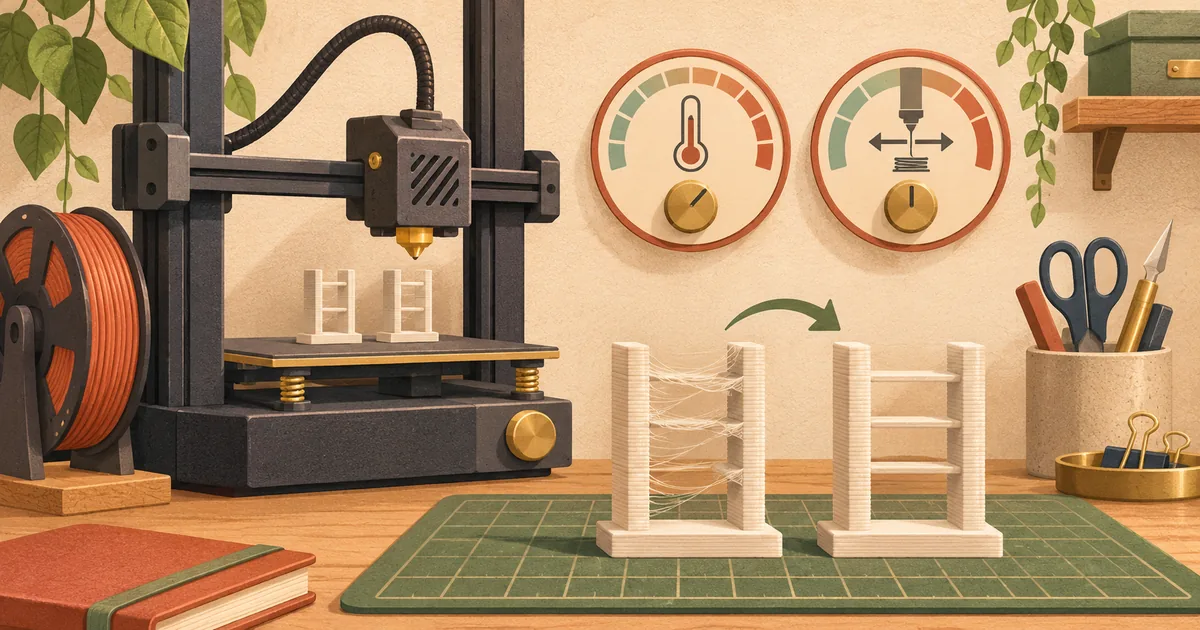
Fine hairs between features usually point to temperature, retraction, travel or damp filament. Change one variable at a time, starting from a known printer profile.
Start here
Those fine hairs between features are annoying, but they are also a useful clue. Start from a known printer profile and work through temperature, retraction, travel and filament condition one at a time.
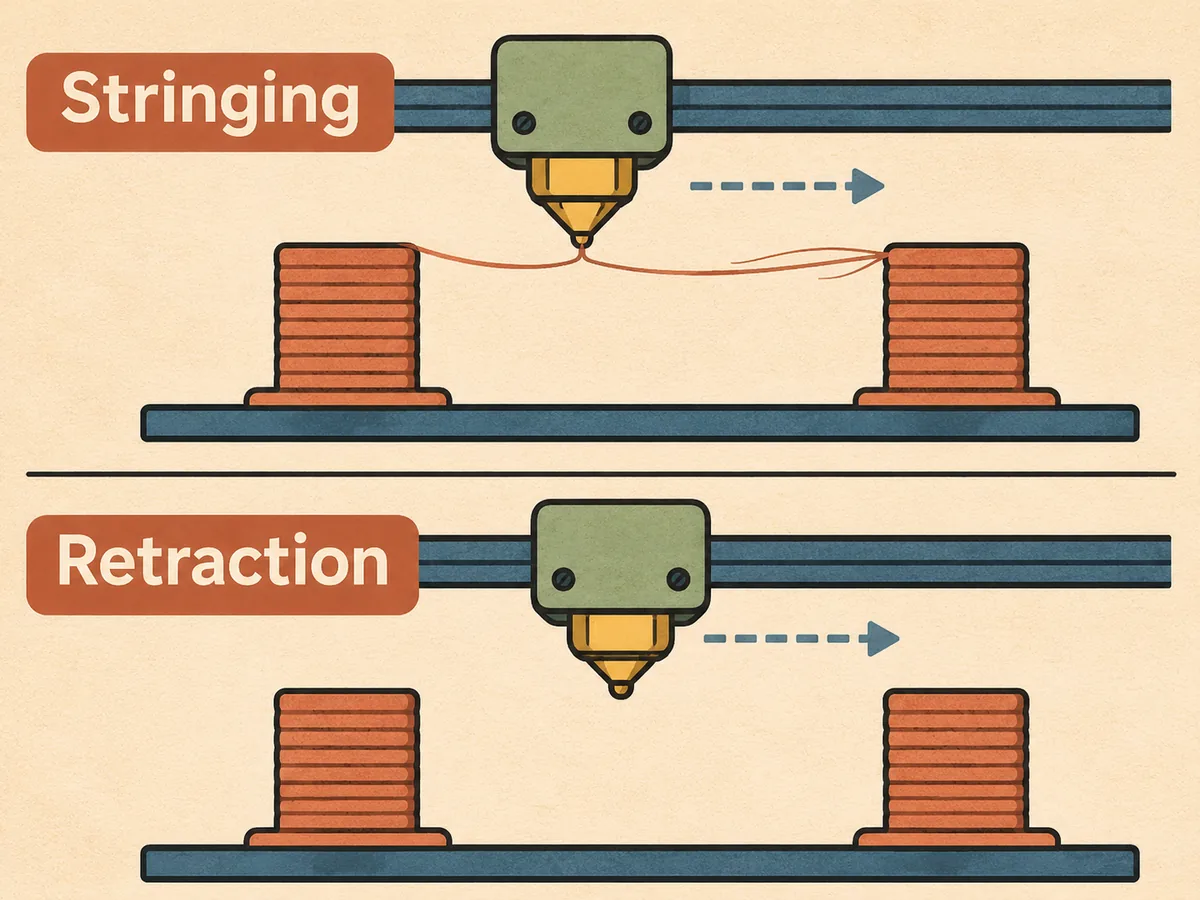
Prusa describes stringing as filament continuing to flow while the nozzle travels between printed areas. Its guidance starts with the supplied slicer preset, a clean nozzle, sensible retraction and a lower nozzle temperature in small steps. Moisture can also make a spool behave badly. That order matters: it stops you hiding a wet-filament or temperature problem behind extreme retraction.
A useful diagnosis begins with the pattern. Wisps across every gap suggest oozing. A heavy branch at one repeated point can be a seam or travel-planning issue. Material gathering on the nozzle and then being dragged across the part calls for cleaning and a check for leakage, not another slicer tweak. If a known-good spool is clean on the same file, the suspect spool deserves drying according to its maker's instructions.
If a spool behaves worse after storage, the separate UK guide at Filament Drying Lab explains moisture and drying decisions in more depth; its home page returned HTTP 200 when checked on 15 November 2026.
Hairs, wisps or webs? Reading the strings
Not every hair has the same cause, so it pays to look closely before opening the slicer. The Simplify3D stringing guide points out that short moves often finish before plastic has time to ooze, while long moves across open air are far more likely to leave a string. So if your strings cluster between two widely spaced towers but a compact part is clean, travel length is part of the story.
Look at the strings themselves, too. Thin, brittle wisps that snap away with a fingernail usually mean a small amount of ooze on every travel. Thick, ropey strands, or a scattering of little bubbles and a rough surface, point more towards a spool that has picked up moisture. Strings that appear only after hours on the same material can come from a film of old plastic on the outside of the nozzle: Prusa notes that long runs of one filament, PETG in particular, can coat the nozzle so that strands stick to the print, and it recommends cleaning off residue before you print.
Temperature first: why a cooler nozzle often helps
Hot plastic is runnier plastic. Simplify3D explains that when the nozzle is too hot the melt becomes less viscous and leaks out more easily, and both Simplify3D and Prusa suggest trying a nozzle temperature 5–10 °C lower and checking whether the stringing reduces. Stay inside the range the filament maker prints on the spool or its data sheet, and treat that as a hard boundary rather than a suggestion.
There is a catch. The OrcaSlicer temperature calibration page lists stringing among the symptoms of both a nozzle that is too hot and one that is too cold, and notes that lower temperatures can also cost you layer adhesion. That is why a temperature tower is more useful than guessing. Orca's built-in tower prints a block at each temperature step; you then pick the block that balances stringing, layer bonding, overhangs and bridging. Where several blocks look equally good, the wiki suggests the middle of that range, or the higher end if you plan to print fast.
Retraction: length, speed and direct drive vs Bowden
Retraction pulls filament back into the nozzle before a travel move so there is less pressure to push plastic out. In PrusaSlicer the settings live under Printer Settings → Extruder 1, and the Prusa article walks through each one: retraction length, lift Z, retraction speed, minimum travel after retraction, retract on layer change, and wipe while retracting.
How much retraction you need depends heavily on the extruder layout:
- Direct drive. Simplify3D says most direct-drive extruders need only about 0.5–2.0 mm. Prusa states a maximum of 2 mm for its MK2.5 and MK3-series printers.
- Bowden. With a long tube between the drive gear and the hotend, Simplify3D says some setups may need as much as 15 mm. Prusa's MINI presets default to 3.2 mm for the same reason.
- Flexible filament. Prusa notes that TPU and similar materials often need longer retractions because the strand stretches as it is pulled back, and that flexibles may need a lot of tuning.
Speed matters as much as distance. Simplify3D describes the failure modes on both sides: retract too slowly and plastic oozes before the move is finished; retract too quickly and the filament can separate from the melt or be ground by the drive gear. It puts the usual sweet spot at roughly 20–100 mm/s, with the right value varying by material.
Rather than nudging values by hand, the OrcaSlicer retraction test prints a notched tower in which each section uses a different retraction length. Its defaults run from 0 to 2 mm in 0.1 mm steps for direct-drive machines, and the wiki suggests 1–6 mm in 0.2 mm steps for Bowden printers. You pick the shortest length that gives a clean section, then find its value using the `Calib_Retraction_tower` comment in the G-code preview. The wiki adds a useful warning sign: if the top of the tower is still stringy, dry the filament and check the nozzle is properly installed without leaks before going further.
Keep retraction moderate. Pulling softened filament a long way back into the cooler part of the hotend is a known route to jams, which is one reason the maker limits above exist. If you find yourself wanting far more than your printer's default, revisit temperature and filament condition first.
Travel moves, combing and wipe
Several slicer options reduce how often the nozzle crosses open air at all. Prusa highlights three in PrusaSlicer:
- Avoid crossing perimeters reroutes travel to stay inside the part where possible, which Prusa says lowers stringing, especially on the MINI.
- Only retract when crossing perimeters skips retraction for moves that stay inside the walls, so any ooze is hidden in the infill.
- Wipe while retracting moves the nozzle during retraction and is recommended to stay enabled.
Simplify3D has an equivalent "avoid crossing outline for travel movement" option, and it also notes that a faster travel speed, where the machine can handle it, leaves less time for ooze. Prusa adds that lift Z (Z-hop) set lower can reduce stringing, but warns that turning it off may let the nozzle hit the part. The minimum travel after retraction setting is also worth checking: Prusa's preset is 1 mm, and a higher value saves time but increases oozing and stringing.
If you are printing several separate objects, Prusa mentions sequential printing — finishing each object before starting the next — as another way to cut stringing between them. PrusaSlicer will flag possible collisions with already-printed parts, but Prusa still advises watching the print closely.
Hardware causes: residue, leaks and heat creep
When settings look sensible and a fresh, dry spool still strings, look at the hotend. Prusa suggests that stringing can come from poor heat dissipation, and recommends re-applying thermal paste on the threads between the heatbreak and heatsink on its printers. If you have recently swapped a nozzle or any hotend part, check the assembly against the official instructions; a part sitting slightly out of place can leak. Always follow your printer maker's procedure for working on a hot or recently heated hotend, and leave heater and thermistor faults to the maker's support.
Tidying a finished print
If a print is otherwise good, you don't have to scrap it. Prusa describes melting light strings with a heat gun set to around 200 °C, aimed for one or two seconds, and warns that holding heat on the part any longer can deform it. Use a heat-resistant surface, keep the nozzle of the gun moving and let the part cool before handling it.
The short version
Return to a known profile, clean the nozzle and lower temperature in sensible steps before reaching for extreme retraction. If one spool behaves differently on the same file, investigate its condition. Keep the change small enough that the next print tells you something useful.