
Guides / Troubleshooting
Under-extrusion and clogged nozzles: a calm diagnostic order
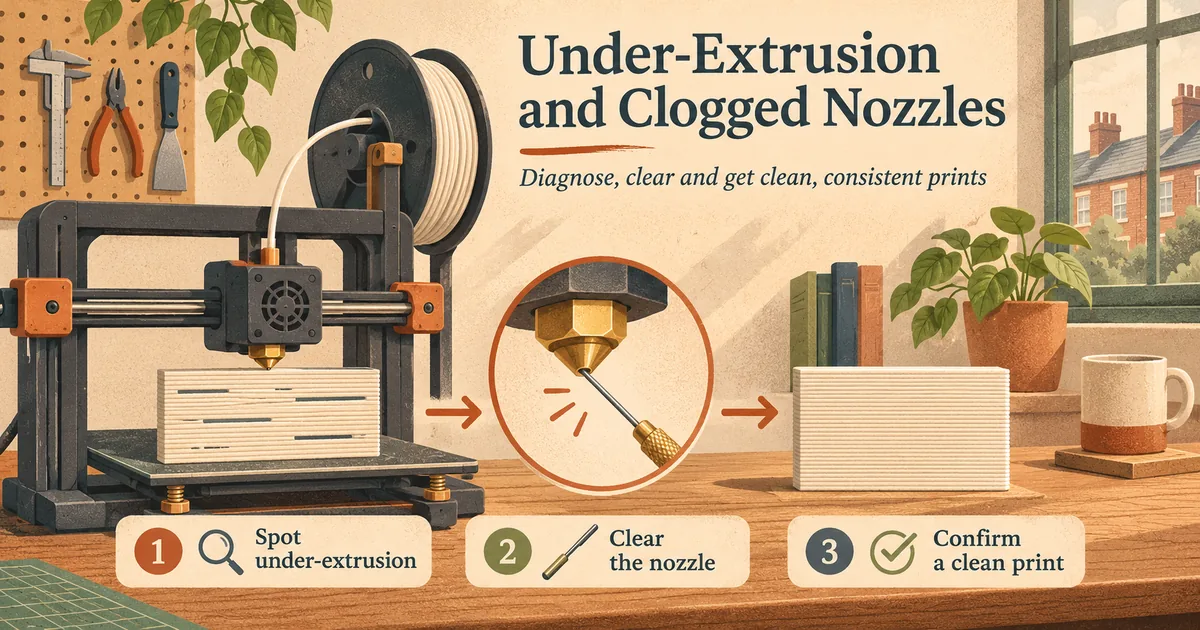
Missing lines can come from an obstructed nozzle, feed resistance, a slipping drive, excessive speed or a first layer that is too close.
Start here
Thin or missing lines do not automatically mean “blocked nozzle”. Trace the filament from spool to print: feed resistance, the drive, requested flow and an over-squashed first layer can all produce a similar symptom.
Prusa's under-extrusion guide lists the first layer, slicer settings, nozzle, extruder gears, hotend cooling and filament among the common areas to inspect. It also makes a point that is easy to forget: the printer gets no feedback on how much plastic actually leaves the nozzle, so the firmware carries on as if every millimetre arrived. Begin upstream: can the spool turn freely, is the filament path kinked, and is the drive gear clean and correctly tensioned? Then check whether the requested flow exceeds the hotend and material profile.
A partial obstruction often appears as intermittent thin lines rather than a complete stop. Use only the cold-pull or cleaning procedure documented for your hotend. Nozzle work happens around hot metal and soft wiring; power down when the manual says to and support the heater block as directed. If molten material is leaking above the nozzle or wiring is damaged, stop and use the maker's repair instructions or a competent technician.
Partial clog, full clog or something else?
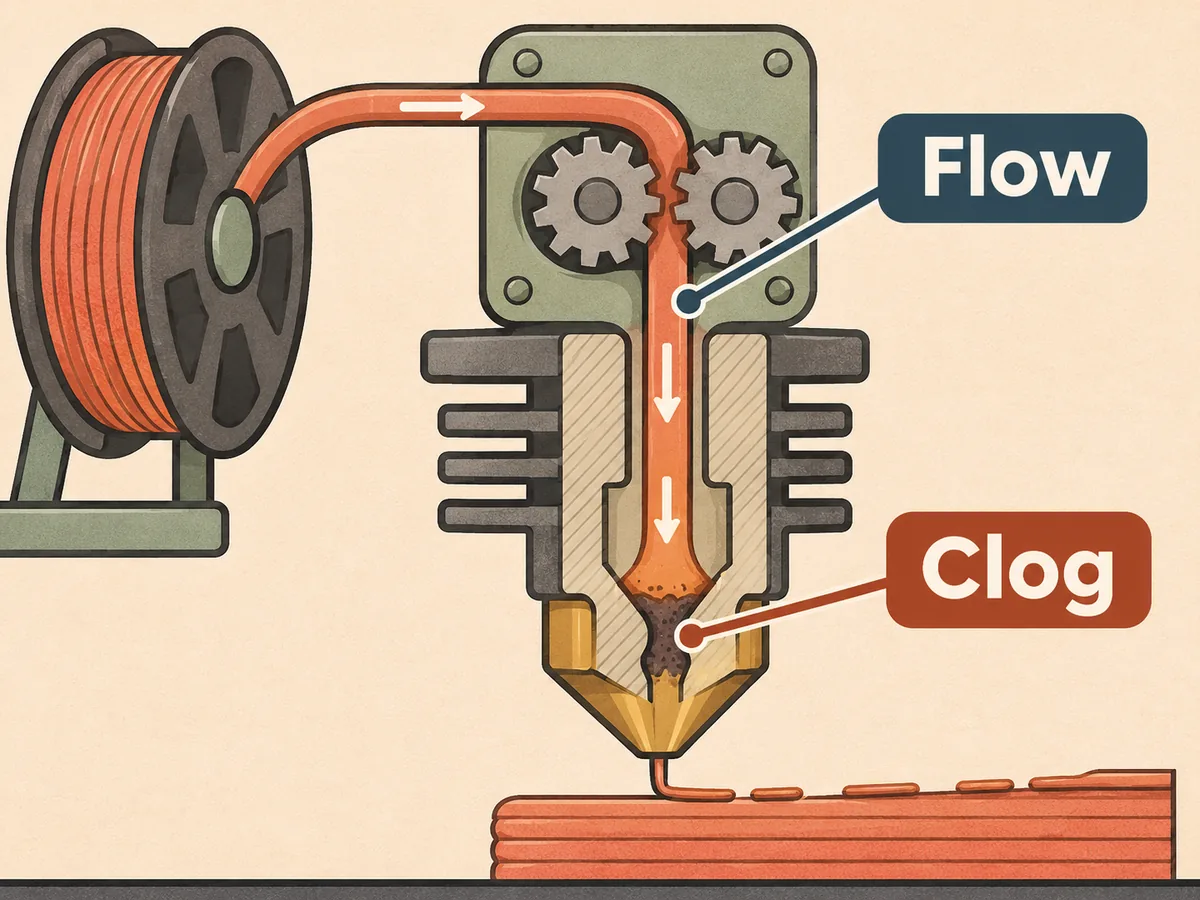
Prusa's clogged nozzle/hotend article gives three tell-tale signs of a partial blockage: printed lines look much thinner and sometimes refuse to stick to the plate, purged filament curls up and clings to the nozzle, and the extruder makes a clicking noise. That click is the extruder motor skipping steps because it is being asked to push harder than it can.
The same article stresses that a clogged hotend is not the same thing as a clogged nozzle. The jam can sit higher up, for example in the PTFE tube inside the heatsink, so swapping the nozzle is not a universal cure. Prusa's rule of thumb for choosing a method is simple: if filament can still be loaded and unloaded, a cold pull is the place to start; if it cannot be loaded at all, the clog needs softening at temperature first and possibly a closer look at where it sits.
Upstream first: spool, drive gears and idler tension
Before heating anything, follow the filament by hand. A spool that binds on its holder, a tangled wrap or a sharply bent Bowden tube adds drag that the extruder has to fight on every move.
At the drive, Prusa asks you to check the gears for dirt or misalignment and notes that an idler screw that is either too loose or too tight can cause under-extrusion. Too loose and the teeth cannot grip; too tight and the filament gets crushed or deformed on its way in.
If you find fine plastic shavings around the drive, the filament has probably been stripped. Simplify3D's grinding filament guide describes this as the gear spinning on filament that cannot move, and suggests trying a retraction speed about 50% lower to see whether the problem disappears. It then suggests a slightly hotter nozzle or a slower print speed, and if grinding continues after those, a partly clogged nozzle is the likely cause.
The first layer can look like a clog
An over-squashed first layer is one of the more confusing causes. Prusa warns against compensating for poor adhesion by pushing the nozzle too close: the bed physically obstructs the plastic leaving the nozzle. It recommends re-running first-layer calibration after moving the printer, after hotend work such as a nozzle change, and when you swap between sheets of different thickness. If the thin lines appear only on layer one and the rest of the print is fine, look here before you reach for the cleaning needle.
Cold pull: what it does and when to use it
A cold pull fills the nozzle with softened filament, lets it cool until it grips any debris, and then pulls the plug out with the contamination attached. Prusa's cold pull instructions say it is meant for a partly clogged nozzle where some filament still flows, and that it doubles as routine maintenance.
The outline on that page for its MK-series printers is: heat to 270 °C, push PLA through by hand until it pours out, let the nozzle cool while continuing to push until it stops flowing (around 170 °C for PLA), wait until it reaches room temperature, then pull slowly and steadily straight up. Prusa recommends PLA because other filaments do not hold the tip shape as well, although dedicated cleaning filaments exist. A good pull shows the nozzle's imprint on the tip and no colour from earlier materials; repeat until it comes out clean.
Those temperatures and steps belong to those printers. Other hotends, all-metal designs and printers with an automatic cold-pull routine may differ, so use your own maker's procedure.
Heat creep: extrusion stops mid-print
If the printer suddenly stops extruding but carries on moving with no error, Prusa points to heat creep. Heat travels above the heatbreak, the filament softens too early, and the extruder grinds or clicks against a plug it cannot push.
Prusa lists the usual triggers:
- Room temperature above 35 °C (30 °C for some filaments), or printing inside an enclosure. PLA in a fully closed, unventilated enclosure is singled out as likely to cause trouble.
- Filament containing metal particles, which conduct heat up the hotend.
- Poor heat transfer between nozzle, heatbreak and heatsink, such as missing thermal paste on the heatbreak thread or a PTFE tube that no longer sits flush.
- A hotend fan that is mounted backwards, blocked or clogged with dust.
- Too little filament flowing. Very thin layers and slow speeds leave plastic sitting in the hot zone. Prusa suggests trying thicker layers such as 0.15 or 0.20 mm, or around 10% more speed, as a test.
That last point is a useful reminder that under-extrusion and heat creep can pull in opposite directions: going faster helps one and can trigger the other.
Are you asking more than the hotend can melt?
Every hotend and filament combination has a ceiling on how much plastic it can melt per second. Requested flow is roughly layer height × line width × speed, so 0.2 mm × 0.45 mm × 60 mm/s comes to 5.4 mm³/s. Our print troubleshooter's flow helper does that sum for you.
OrcaSlicer's max volumetric speed test prints a tower with flow increasing as it rises. The defaults run from 5 to 20 mm³/s in 0.5 mm³/s steps. You measure the height where the walls start to fail or turn matte, then work out the limit as start + (height measured × step). The wiki is honest about the limits: it is a best-case test that ignores retraction, and it recommends setting the filament profile 10–20% below the result to protect quality and strength. Once that limit is in the filament profile, the slicer slows fast sections rather than starving them.
Nozzle and material mismatches
Some under-extrusion is simply a pairing problem. Prusa notes that hardened or stainless steel nozzles may need about 5–10 °C more than brass because steel transfers heat differently, though higher temperatures can bring more stringing. It also warns that wood- or metal-filled filaments are usually unsuitable below 0.4 mm, and that woodfill may need at least a 0.6 mm nozzle. If you are moving to abrasive materials, see our hardened-steel nozzle checklist.
Two smaller habits from the same Prusa page help as well. Filament diameter typically varies within ±0.05 mm, and filled or cheaper filament can vary more. When changing from a hotter material such as PETG back to PLA, load the new spool at the old, higher temperature so it pushes the leftovers out.
Safety notes for nozzle work
A clearing needle goes in from the nozzle tip only. Prusa says never to feed it in from the top and never to load filament while it is inserted. Prusa also mentions solvent cleaning for a removed nozzle (acetone for ABS; tetrahydrofuran or ethyl acetate for PLA). These are flammable, so follow the product's safety data, work in a ventilated space away from heat, and never use them on a hot or installed hotend.
The short version
Work upstream to downstream: spool path, drive and idler, first-layer gap, obstruction, hotend cooling and requested flow. Cold pull for partial clogs, soften and locate a full one, and suspect heat creep if extrusion dies mid-print in a warm room. Set a measured volumetric limit so the slicer never asks for more than the hotend can melt.